How to Collect Azure Resource Data
The Azure collector is configured within the Fix Inventory Worker configuration via the config command in Fix Inventory Shell.
Prerequisites
This guide assumes that you have already installed Fix Inventory.
Directions
1. Enable the Azure Collector
-
Open the Fix Inventory Worker configuration via the
configcommand in Fix Inventory Shell:> config edit fix.worker -
Add
azureto the list of collectors by modifying the configuration as follows:fixworker:
...
# List of collectors to run
collector:
- 'azure'
...
...
2. Configure Azure
-
Open the Azure console.
-
In the search box, type App registrations and select the App registrations service:

-
Click New registration:

-
Enter a name for the application and click the Register button:

-
Make note of the displayed Application (client) ID and Directory (tenant) ID:
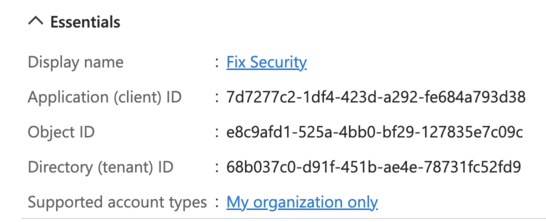 note
noteThese values will be provided as
client_idandtenant_idto the Azure collector. -
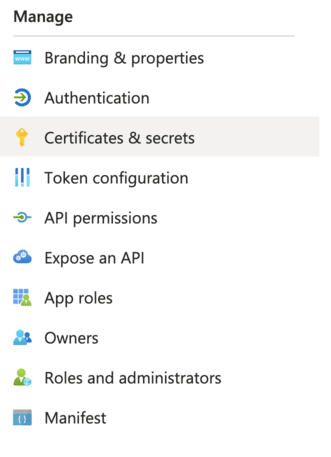
Click on Certificates & secrets in the left-hand menu:
-
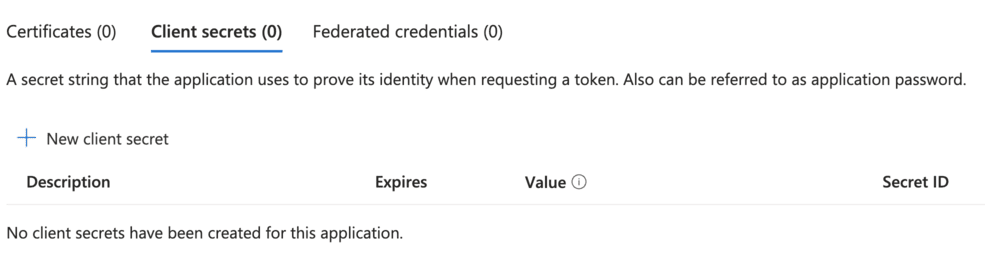
Click New client secret:
-
Enter a description for the secret, select an expiration period, and click the Add button:

-
Make note of the displayed Value of the created secret:
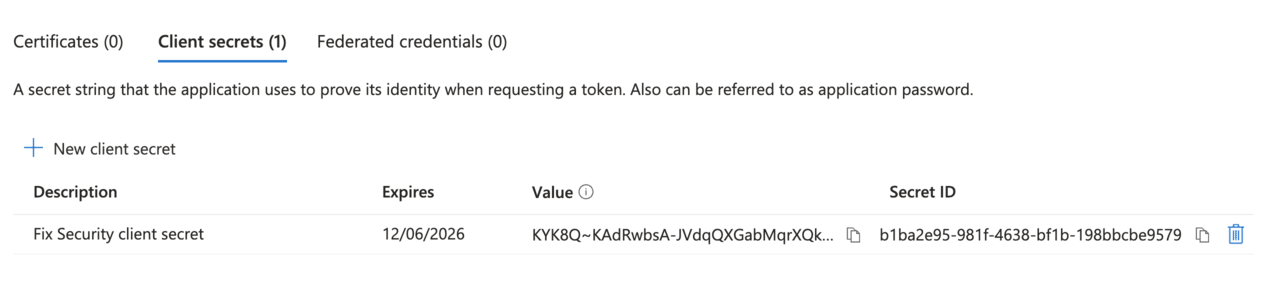 note
noteThis value will be provided as
client_secretto the Azure collector. -
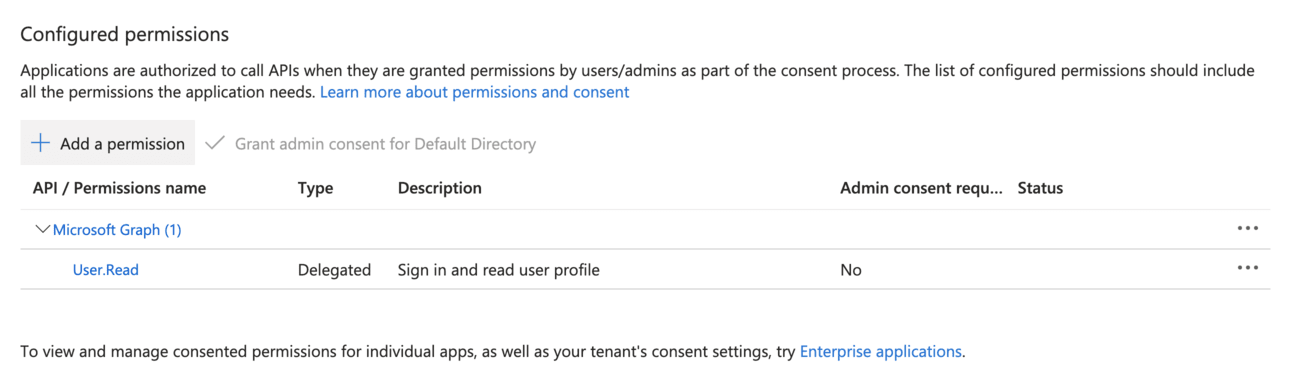
Click on API permissions in the left-hand menu:
-
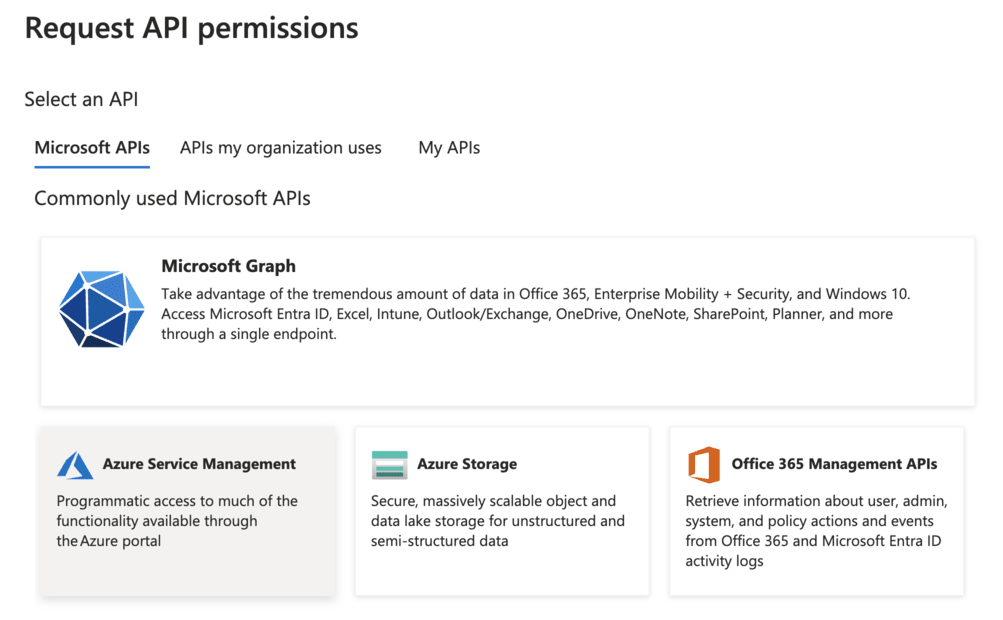
Click Add a permission:
-
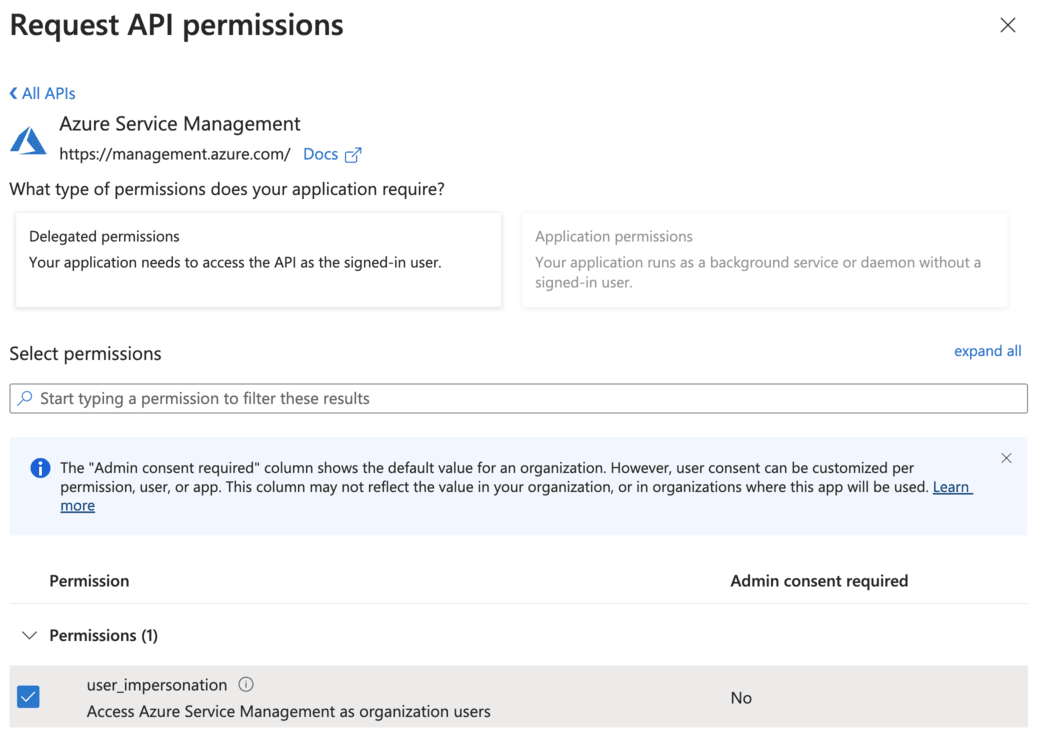
Click Azure Service Management:
-
Select the user_impersonation permission:
-
Click the Add permissions button:

-
In the search box, type Subscriptions and select the Subscriptions service:

-
Click on your subscription:

-
Click Access control (IAM) in the left-hand menu:
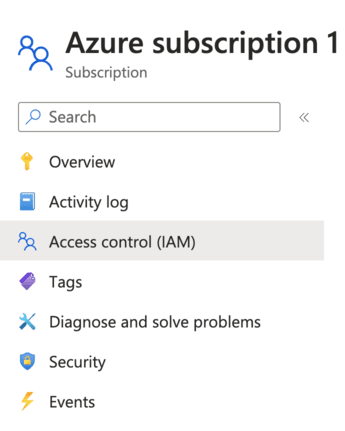
-
Click Add role assignment:

-
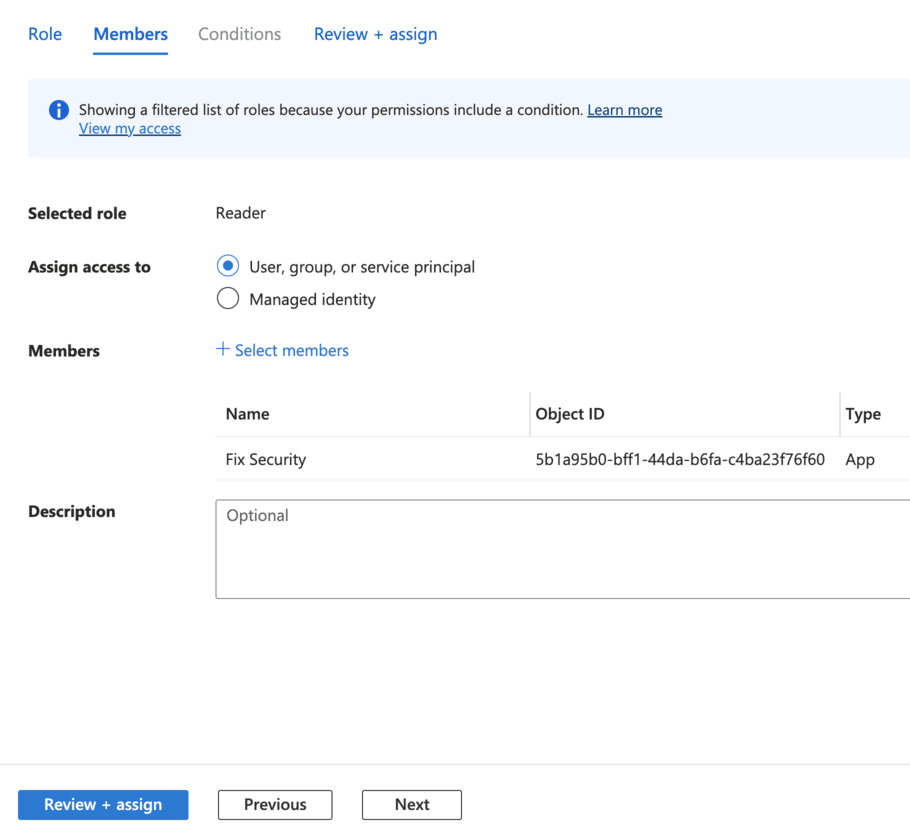
In the Role tab, select the Reader role:
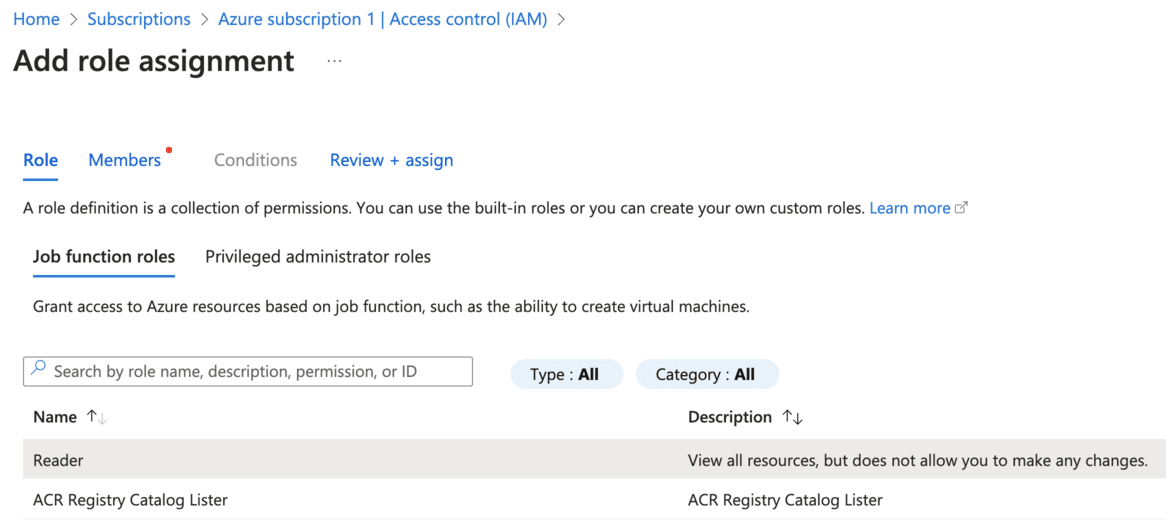
-
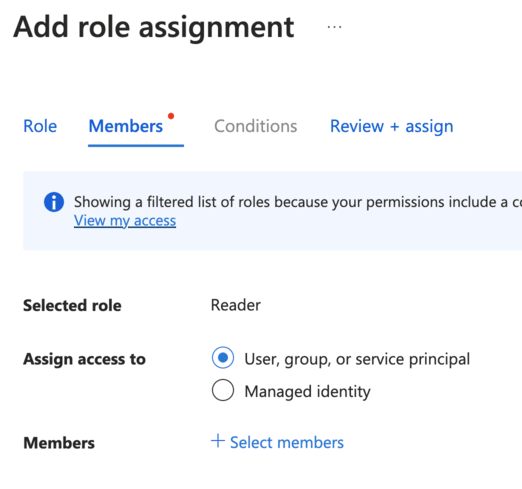
Click the Next button:

-
In the Members tab, click Select members:
-
Search for the application you created earlier:
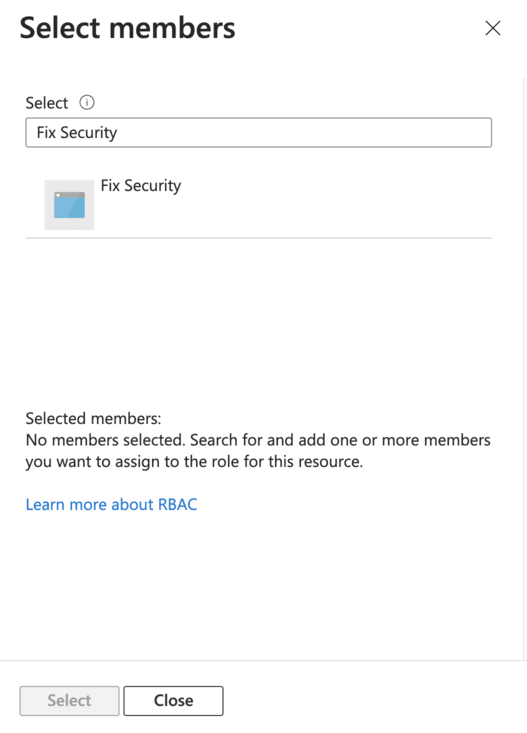
-
Click the application and click the Select button:

-
Click the Review + assign button:
3. Authenticate with Azure
- Fix Inventory Worker Configuration
- Environment Variables
-
Open the Fix Inventory Worker configuration via the
configcommand in Fix Inventory Shell:> config edit fix.worker -
Modify the
azuresection of the configuration as follows, adding your API tokens and/or access keys:azure:
accounts:
default:
client_secret:
tenant_id: '<tenant ID>'
client_id: '<client ID>'
client_secret: '<client secret>'
Instead of specifying API tokens or secret access keys in the Fix Inventory Worker configuration directly, it is possible to define them using the --override flag or FIXWORKER_OVERRIDE environment variable.
-
Set the
FIXWORKER_OVERRIDEenvironment variable:-
Add a environment variable definition to the
fixworkerservice indocker-compose.yaml:docker-compose.yamlservices:
...
fixworker:
environment:
- FIXWORKER_OVERRIDE="azure.accounts.default.client_secret.tenant_id=<tenant ID> azure.accounts.default.client_secret.client_id=<client ID> azure.accounts.default.client_secret.client_secret=<client secret>"
...
... -
Recreate the
fixworkercontainer with the updated service definition:$ docker-compose up -dnoteDocker Compose V2 integrated compose functions in to the Docker platform.
In Docker Compose V2, the command is
docker compose(no hyphen) instead ofdocker-compose.
-
4. Trigger Resource Collection
-
By default, Fix Inventory performs resource collection each hour. To immediately trigger a collect run, use the
workflow runcommand in Fix Inventory Shell:> workflow run collect -
Once the collect run completes, you can view a summary of collected Azure resources using the following search:
> search is(azure_resource) | count kind